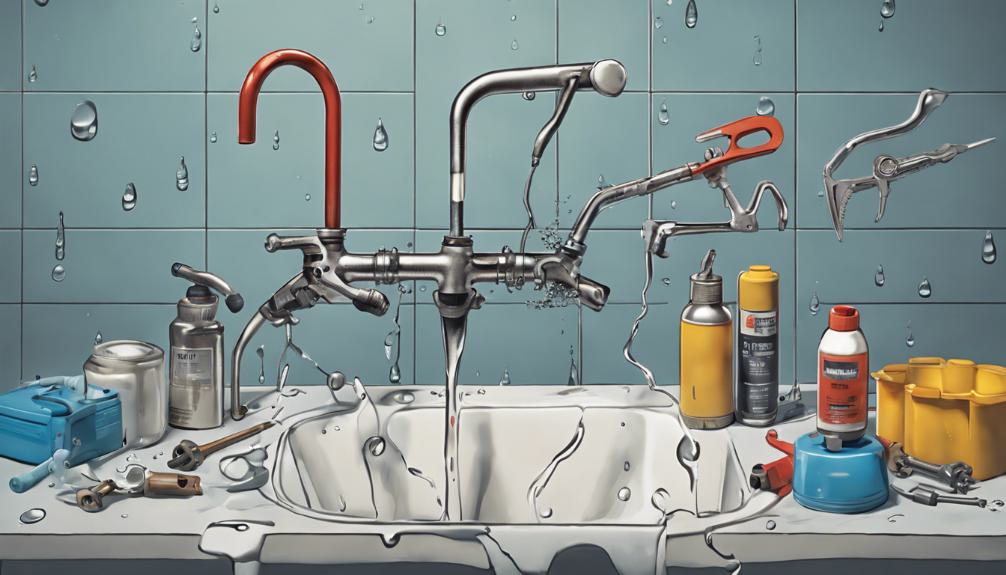
Fix a Leaky Faucet in 3 Steps:
Identify the leak source: aerator, O-rings, or drain assembly.
Check for moisture, water droplets, or mineral deposits.
Key Takeaways
• Identify the leak source by inspecting the aerator, O-rings, gaskets, and drain assembly for signs of moisture, water droplets, or mineral deposits.
• Use essential tools like wrenches, pliers, and specialized faucet tools to fix the leak, and practice safety precautions to prevent damage.
• Different faucet types, such as cartridge-style, compression, disc-style, and ball-and-socket, require specific repair techniques and tools.
• Replace worn-out O-rings, gaskets, and other faulty parts with compatible ones, following the manufacturer's instructions for a leak-free faucet.
• Regular maintenance, such as cleaning and replacing worn-out parts, helps prevent future leaks and ensures smooth faucet operation.
Identifying the Source of the Leak

Leaks typically occur in three areas: the aerator, O-rings or gaskets, or the drain assembly. Turn on the faucet and inspect these areas closely for signs of moisture, water droplets, or mineral deposits.
Observe leak patterns to determine if the leak is constant or intermittent. Constant leaks usually indicate worn-out O-rings or gaskets. Intermittent leaks might be caused by water pressure fluctuations. Check if the leak occurs when the faucet is turned on or off to pinpoint the source.
High water pressure can exacerbate leaks. Check the water pressure in your home. If the leak is from the aerator, replace it. If the leak is from O-rings or gaskets, replace them. If the leak is from the drain assembly, tighten the drain or replace the gasket.
Essential Tools for the Job
You'll need the right tools to tackle that leaky faucet, and we're about to cover the essentials.
First, you'll require a solid set of wrenches and pliers to grip and twist various faucet parts.
Next, an adjustable basin wrench will come in handy for reaching those hard-to-access areas, and specialized faucet tools will help you tackle specific faucet types.
Wrenches and Pliers
Wrenches for Leaky Faucet Repair
For leaky faucet repair, you need a set of reliable wrenches, including adjustable, open-end, and basin wrenches. These wrenches handle different faucet types.
Safety Precautions with Wrenches
When using wrenches, ensure a secure grip and avoid over-tightening, which can damage faucet components.
Plier Maintenance
Regularly clean pliers to prevent rust and corrosion. Lubricate pivot points for smooth operation. Store pliers in a dry place, away from direct sunlight, to prevent damage.
Safety Protocols with Wrenches and Pliers
Wear protective gloves and safety glasses to prevent injury from slipping or flying debris. Keep your workspace clean and organized to avoid tripping hazards.
Semantic Entities:
- Wrenches: adjustable wrench, open-end wrench, basin wrench
- Pliers: regular plier maintenance, pivot points
- Safety Equipment: protective gloves, safety glasses
Adjustable Basin Wrench
What is an Adjustable Basin Wrench?
An adjustable basin wrench is a versatile tool used to fix leaky faucets. It fits into tight spaces and grasps various faucet nuts.
How Does it Work?
The adjustable basin wrench's jaws can be set to fit different nut sizes. This makes it a valuable asset in your toolkit.
Using an Adjustable Basin Wrench Safely
Maintain a firm grip on the handle. Avoid applying excessive force, which can damage the faucet or surrounding surfaces.
Tool Maintenance
Keep the adjustable basin wrench clean and well-lubricated to prevent rust and corrosion. Regularly inspect the tool for signs of wear and tear, replacing it if necessary.
Using the Wrench Correctly
Position the wrench correctly to avoid stripping the faucet nuts. Apply gentle, consistent pressure to avoid damaging the faucet or surrounding surfaces.
Importance of an Adjustable Basin Wrench
An adjustable basin wrench is crucial for basin maintenance. It allows you to access and tighten or loosen hard-to-reach faucet parts with ease.
Specialized Faucet Tools
Faucet kits are essential for DIYers and plumbers, providing specialized tools for specific faucet types. These kits typically include valve-seat wrenches, faucet packing tools, and cartridge removal tools.
Precision gauges measure water pressure and flow rate, helping identify the root cause of a leak.
Faucet sockets or faucet keys are necessary for dealing with stubborn faucet cartridges or valve stems.
Investing in these specialized faucet tools enables tackling challenging faucet repairs with confidence.
Fixing a Cartridge-Style Faucet
Fixing a Cartridge-Style Faucet
Cartridge-style faucets are commonly found in single-handle faucets, controlling both hot and cold water flow. They've been popular since the mid-20th century, replacing compression-style faucets. Modern cartridges are often made of ceramic or plastic.
To fix a leaky cartridge-style faucet, identify the leak source. Inspect O-rings, gaskets, and valve seats for wear or damage. If the cartridge is faulty, replace it.
Common cartridge types include:
| Cartridge Type | Material | Features |
|---|---|---|
| Ceramic | Ceramic, stainless steel | Durable, resistant to corrosion and mineral buildup |
| Plastic | Polypropylene, polyethylene | Affordable, prone to wear and tear |
| Brass | Brass, stainless steel | High-end, resistant to corrosion and wear |
When replacing a cartridge, ensure it's compatible with your faucet's brand and model. Follow the manufacturer's installation instructions, avoiding damage to surrounding components.
Repairing a Compression Faucet
Now that you've identified the leak in your compression faucet, it's time to get to work.
You'll need to disassemble the faucet to access the worn-out parts, and then replace them with new ones.
Start by shutting off the water supply and loosening any visible retaining nuts or clips that hold the faucet's handle or escutcheon in place.
Disassembling the Faucet
Turn off the water supply to the faucet by locating the shut-off valves under the sink and rotating them clockwise.
Familiarize yourself with the faucet's anatomy: handle, stem, O-rings, and valve seat. Understanding how these components interact is essential for successful disassembly.
Remove the handle screw and gently pull the handle off the stem. You may need to wiggle it slightly to dislodge it from the stem's splines.
Using a wrench or pliers, loosen the packing nut that holds the stem in place. Once loose, carefully pull the stem out of the faucet body. Be cautious not to damage the O-rings or valve seat.
Note the order and orientation of each component as you disassemble the faucet. This ensures a smooth reassembly process later on.
Replacing Worn-Out Parts
Inspecting Worn-Out Parts
Disassemble the faucet to inspect the O-rings, valve seat, and stem for signs of wear or damage. These are the most common causes of a leaky faucet. Look for corrosion, scratches, or worn-out surfaces that may be causing the leak.
Replace worn-out parts with new ones that match the original faucet anatomy. Measure the old parts carefully to ensure an exact fit. Find replacement parts at most hardware stores or online. Consult your faucet's manual or manufacturer's website if you're unsure what you need.
Apply a small amount of plumber's grease to new O-rings for a tight seal. Apply a thin layer of pipe dope to the threads of the valve seat and stem before assembling. Proper part selection and installation ensure a leak-free faucet that functions smoothly.
Test the faucet after reassembly to confirm the leak is fixed.
Dealing With Disc-Style Faucets
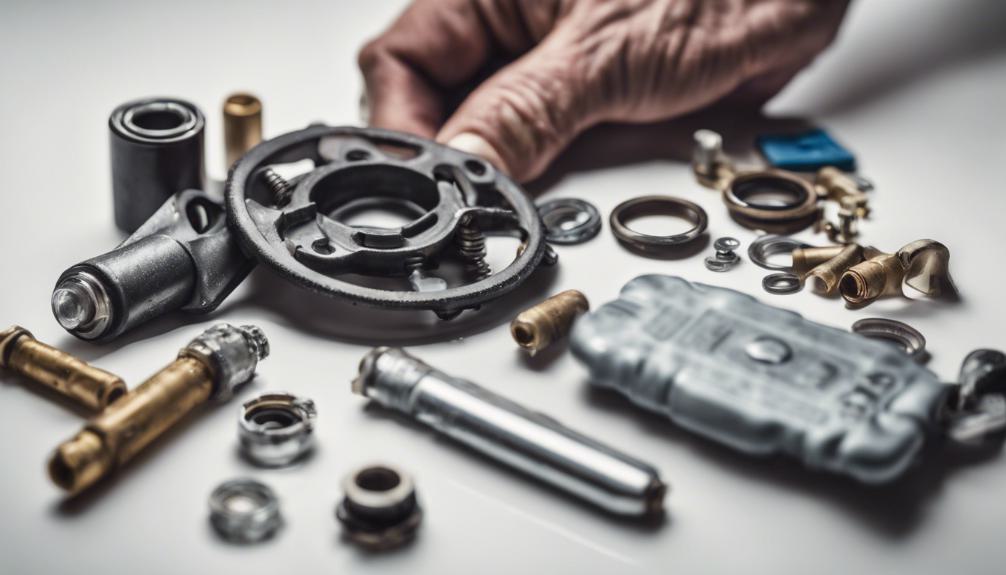
Disc-Style Faucets: Understanding and Fixing Leaks
Disc-style faucets, typically found in single-handle models, use a rotating disc or cylinder to control water flow and temperature. The disc material, such as ceramic or stainless steel, affects the faucet's performance and durability.
Inspect the disc's movement and alignment to identify misalignment, a common cause of leakage. Ensure the disc is properly seated.
Disc-style faucets are known for their sleek, modern design, which can be compromised by mineral buildup or corrosion.
Fixing a Leaky Disc-Style Faucet:
- Disassemble the faucet by removing the handle and decorative caps to access the disc mechanism.
- Inspect the disc and O-rings for signs of wear, corrosion, or mineral buildup. Replace O-rings if necessary.
- Clean or replace the disc using a gentle cleaning solution or replacing the disc if damaged.
- Reassemble the faucet and test it to ensure the leak is fixed.
Remember to address disc misalignment, mineral buildup, and corrosion to maintain your faucet's performance and aesthetic appeal.
Fixing a Ball-and-Socket Faucet
Fixing a Ball-and-Socket Faucet
Leak Source: Worn-Out or Loose Ball-and-Socket Assembly
The ball-and-socket assembly, located at the base of the faucet handle, controls water flow and temperature. Inspect it for wear or corrosion.
Disassemble the Handle
Remove the screw holding the handle in place to access the ball-and-socket assembly.
Inspect and Clean or Replace
Check for signs of wear or corrosion. Clean or replace the assembly as needed. Tighten any loose parts securely.
Prevent Future Leaks
Regularly inspect the ball-and-socket assembly for mineral buildup or corrosion. Clean it with a gentle descaling solution. Replace the ball if worn out.
Refer to the Faucet Manual
Follow your faucet's manual for specific disassembly procedures, as they may vary.
Ensure Smooth Function
Replacing an O-Ring or Gasket
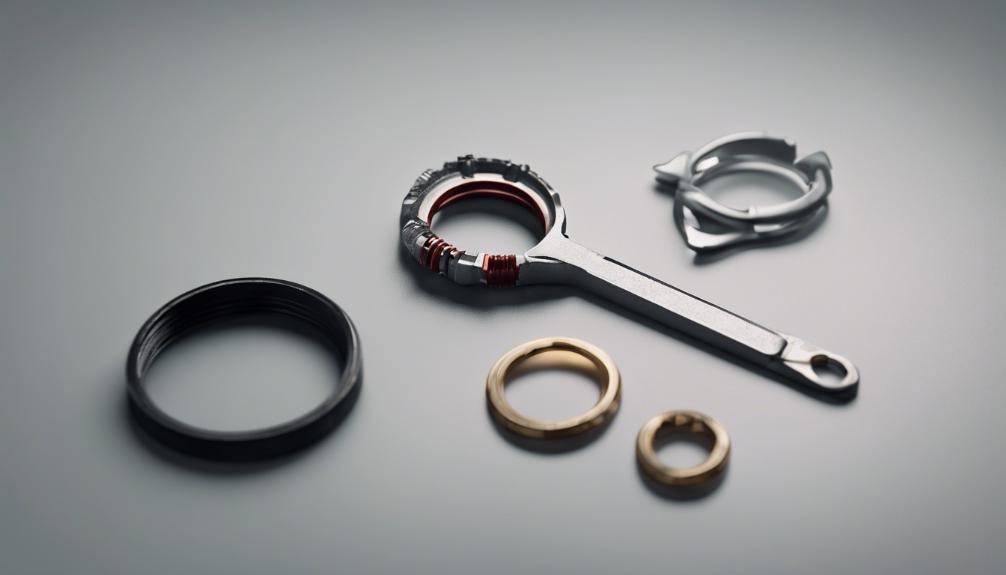
Inspect the faucet's O-rings and gaskets for worn-out seals that cause leaks, especially around the valve stem and drain assembly. Replace them when necessary.
To ensure a proper seal, select the correct O-ring size and gasket material.
O-ring sizing: Measure the old O-ring to determine the correct size. Check the manufacturer's specifications or consult a hardware store expert.
Gasket materials: Choose durable materials like Buna-N, EPDM, or Viton, which resist corrosion and withstand water pressure.
When replacing O-rings, apply a small amount of plumber's grease for a smooth installation.
Test the repair: After replacing the O-ring or gasket, turn on the faucet and check for leaks.
Disassembling and Reassembling Faucets
Shut Off Water Supply
Shut off the water supply to the faucet by locating the shut-off valves under the sink and turning them clockwise.
Disconnect Water Supply Lines
Disconnect the water supply lines from the faucet by loosening the nuts that hold the lines in place with an adjustable wrench.
Disassemble Faucet Components
Use a screwdriver to remove the handle screw, then gently pull the handle off the stem. This exposes the stem and O-ring or gasket.
Loosen Additional Parts
Use a wrench or pliers to loosen any additional parts, such as the packing nut or aerator.
Note Component Order and Orientation
Take note of the order and orientation of each component to ensure a smooth reassembly process.
Reassemble Faucet
Start with the stem and work your way back up to the handle. Apply a small amount of plumber's grease to the O-ring or gasket to guarantee a proper seal.
Tighten Components
Tighten each component in the reverse order of how you disassembled them, making sure not to overtighten.
Troubleshooting Common Issues
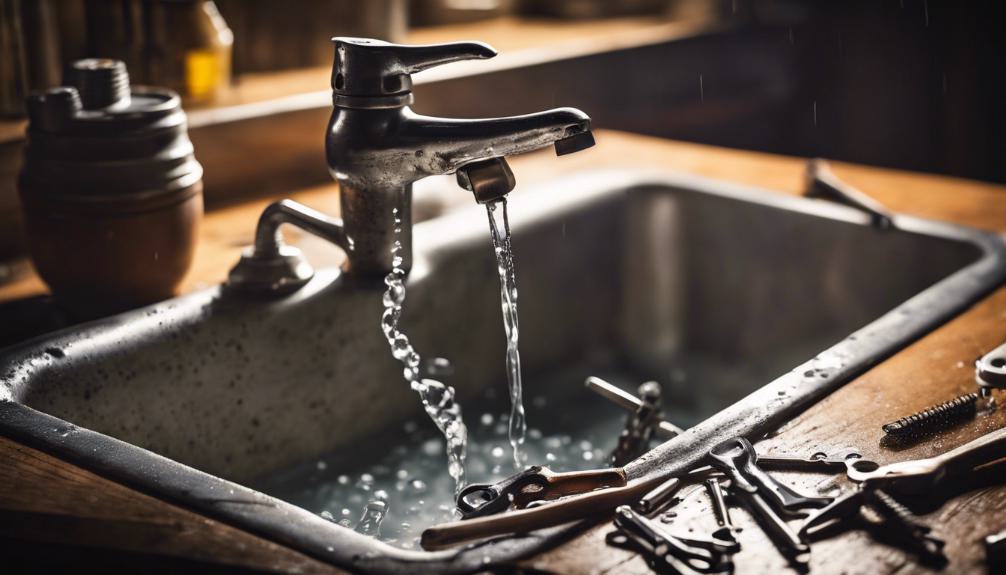
Troubleshooting Common Faucet Issues
Dripping Faucet:
Check O-rings or gaskets for wear and tear.
Inspect the aerator for mineral buildup.
Leaky Faucet Handle:
Inspect the stem and O-ring for damage or corrosion.
Apply lubricant to the stem if necessary.
Faucet Won't Turn:
Check for mineral buildup in the faucet's cartridge or valve.
Soak the affected parts in vinegar to dissolve the buildup.
Faucet Leaks from the Spout:
Inspect the faucet's spout O-ring or gasket for damage.
Replace if necessary.
Frequently Asked Questions
Can I Fix a Leaky Faucet Myself, or Do I Need a Plumber?
You can fix a leaky faucet yourself if you have DIY confidence, but if faucet anxiety sets in, don't hesitate to call a plumber; it's better to be safe than soaked in a flooded kitchen.
How Long Does It Typically Take to Fix a Leaky Faucet?
"Depending on faucet complexity, you'll spend anywhere from 15 minutes to several hours fixing the leak. Simple cartridge-style faucets take less time, while complex compression faucets require more time and effort, with average time estimates ranging from 30 minutes to 2 hours."
Are There Any Safety Precautions I Should Take When Fixing a Faucet?
When fixing a faucet, you should take safety precautions, wearing personal protective gear like gloves and goggles to shield yourself from hazardous materials and sharp edges, ensuring a safe and successful repair.
Can I Replace Only the Faulty Part, or the Entire Faucet?
When deciding whether to replace the faulty part or the entire faucet, you'll need to examine the faucet's anatomy and identify the leak pattern to determine the best course of action, considering cost, time, and complexity.
Will Fixing a Leaky Faucet Increase My Home's Water Pressure?
You'll be pleased to know that fixing a leaky faucet won't directly impact your home's water pressure. However, it will contribute to water conservation, which can help regulate pressure and reduce strain on your plumbing system overall.
Conclusion
You've successfully fixed your leaky faucet! Pat yourself on the back – it wasn't as bad as you thought, was it?
By identifying the source of the leak, gathering the right tools, and applying the techniques outlined here, you've saved yourself a pricey repair bill and gained some valuable DIY skills.
Now, go enjoy that sweet, sweet silence of a leak-free faucet.
