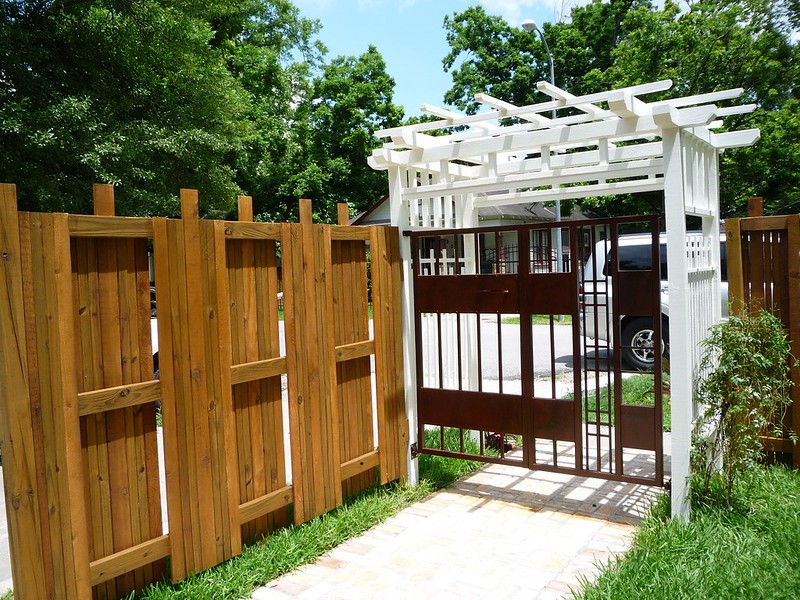
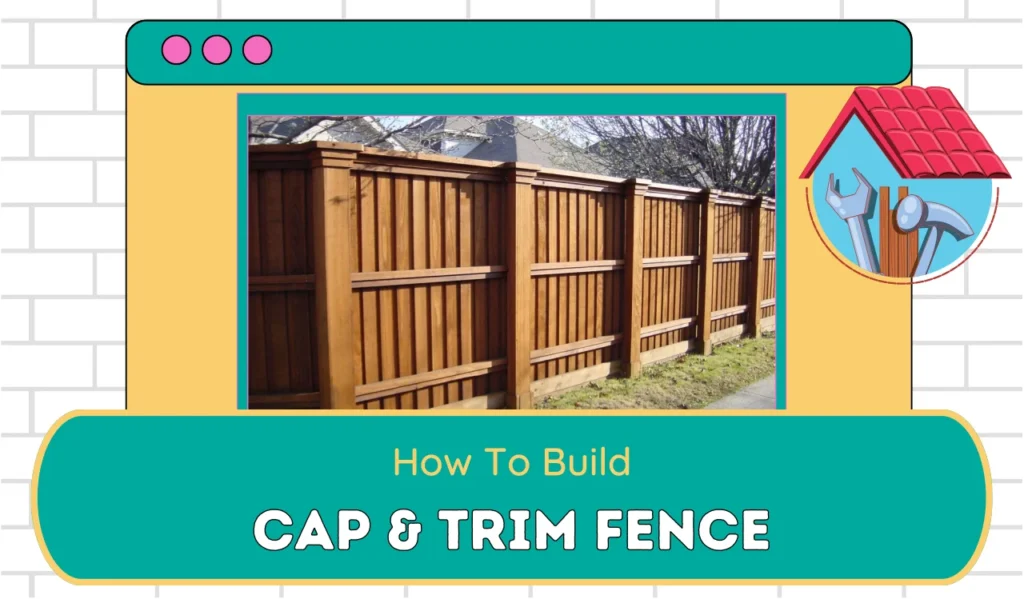
Building a cap and trim fence is a great way to enhance the look and durability of your fence. This style of fencing adds a clean and finished appearance while providing extra protection.
By following a few simple steps, you can achieve a professional-looking cap and trim fence that will elevate the aesthetic appeal of your property.
Keep in mind some key considerations to set the foundation for a successful project.
Key Takeaways
- Prioritize durability and weather resistance when choosing materials for a cap and trim fence.
- Consider the budget and long-term maintenance requirements when selecting between wood and vinyl materials.
- Accurate measurement, depth, and alignment of the fence posts are crucial for a solid foundation.
- Pay attention to the positioning and secure installation of the cap rail and trim boards for a professional and polished appearance.
Selecting the Right Materials
When selecting materials for your cap and trim fence, prioritize durability and weather resistance to ensure a long-lasting and low-maintenance structure. It’s essential to consider your budget when choosing the right materials for your fence.
Wood is a classic choice, offering a traditional look and a natural feel to your outdoor space. However, it requires regular maintenance, such as staining or painting, and is susceptible to rot and insect damage.
On the other hand, vinyl fencing is a low-maintenance option, requiring minimal upkeep and lasting for years. While the upfront cost may be higher, the long-term benefits often outweigh the initial investment.
When comparing wood vs. vinyl, it’s crucial to weigh the environmental impact as well. Wood is a renewable resource, but it requires the cutting down of trees, impacting natural habitats. Vinyl, although durable, isn’t biodegradable and can have a negative environmental impact during production and disposal.

Preparing the Fence Posts
To ensure the durability and longevity of your cap and trim fence, the first step in preparing the fence posts is to carefully measure and mark the locations for installation.
Once you have determined the placement of the fence posts, it’s crucial to consider the setting depth. The depth at which the posts are set will directly impact the stability and strength of your fence.
Use a post hole digger to create holes with the appropriate depth, ensuring that the posts are securely anchored in the ground.
Aligning posts is another vital aspect of preparing the fence posts. Proper alignment ensures that your fence will have a straight and professional appearance.
Use a level to check that each post is perfectly vertical before securing it in place. This attention to detail will contribute to the overall aesthetic and functionality of your cap and trim fence.
Taking the time to measure, set the depth, and align the posts accurately will lay a solid foundation for the rest of your fence-building project.
By investing effort in this initial stage, you’ll set the stage for a sturdy and visually appealing cap and trim fence.
Installing the Cap Rail
Start by positioning the cap rail along the top of the fence, ensuring it’s aligned evenly with the posts and securely fasten it in place using appropriate fasteners.
When considering the cap rail design, choose a style that complements the overall look of your fence. Whether you opt for a simple flat cap or a more decorative option, make sure it enhances the aesthetic appeal of your fence. It’s essential to select a cap rail that’s durable and weather-resistant to ensure longevity.
When it comes to cap rail installation techniques, it’s crucial to follow the manufacturer’s guidelines for your specific cap rail. Use the recommended fasteners and installation methods to ensure a secure and professional finish. Additionally, consider pre-drilling any holes to prevent splitting and ensure a precise fit.
As you install the cap rail, periodically check for alignment and adjust as needed to maintain a straight and polished appearance.
Adding the Trim Boards
After securing the cap rail in place, the next step is to attach the trim boards to the fence, ensuring they’re aligned evenly with the cap rail and posts for a cohesive and polished appearance.
Start by measuring the distance between the cap rail and the ground at each post to ensure the trim boards will be level. Use a level to mark a straight line across the posts, indicating where the top of the trim board should align.
When cutting the trim boards, strive for measuring accuracy to guarantee a seamless fit. Once cut, position the trim boards along the fence and secure them in place with nails or screws, ensuring they’re aligned evenly with the cap rail.
When adding the trim boards, consider the decorative options available. You can choose to add decorative caps to the top of the trim boards for a stylish finish. Additionally, you may want to explore different trim board profiles to add visual interest to your fence.
Trim Your fence with cap board
Finishing and Maintenance
Consider incorporating a protective sealant to safeguard the fence from weathering and to maintain its appearance over time. Proper finishing and maintenance are crucial for ensuring the longevity of your cap and trim fence.
Weatherproofing and preventing rot are essential for long term care. One key aspect of finishing your fence is choosing the right staining techniques to enhance its natural beauty and protect it from the elements.
A high-quality, weather-resistant stain can help prevent the wood from deteriorating due to exposure to sun, rain, and snow.
| Maintenance Tips | Benefits |
|---|---|
| Apply a protective sealant annually | Guards against weathering and moisture |
| Regularly inspect for damage and rot | Prevents potential costly repairs |
| Clean and re-stain every few years | Maintains the fence’s appearance and durability |
| Trim back vegetation near the fence | Reduces moisture and rot risk |
| Check for loose trim boards | Ensures structural integrity and safety |
Frequently Asked Questions
How Do I Determine the Height and Spacing of the Cap and Trim Boards for My Fence?
To determine the height and spacing of the cap and trim boards for your fence, measure the fence posts and consider the size of the boards. Also, take into account any decorative additions and weather considerations for maintenance requirements.
Can I Use Different Materials for the Cap and Trim Boards, or Do They Need to Match the Fence Material?
You can definitely use different materials for the cap and trim boards, but matching them to the fence material creates a cohesive look. Mixing and matching cap and trim board styles can offer creative options for a unique and personalized fence design.
Are There Any Special Considerations for Building a Cap and Trim Fence in a Windy or Coastal Area?
In windy conditions, ensure secure cap and trim installation to prevent damage. Along the coast, prioritize maintenance to combat salt exposure. Consider using materials resistant to weathering for long-lasting durability in these environments.
Do I Need to Seal or Treat the Cap and Trim Boards to Protect Them From the Elements?
Yes, you should definitely seal or treat the cap and trim boards to protect them from the elements. This will help maintain the integrity of your cap and trim fence and ensure its longevity.
Can I Add Decorative Elements to the Cap and Trim Boards, Such as Finials or Carved Designs?
Yes, you can definitely add decorative elements to the cap and trim boards, such as finials or carved designs. It’s a great way to personalize your fence and make it stand out. Enjoy customizing your designs during fence installation.
Conclusion
Now you know how to build a cap and trim fence.
With the right materials and careful preparation, you can create a sturdy and stylish fence for your property.
Remember to take your time and follow the steps carefully for the best results.
With proper finishing and maintenance, your new fence will last for years to come.
Good luck with your project!
