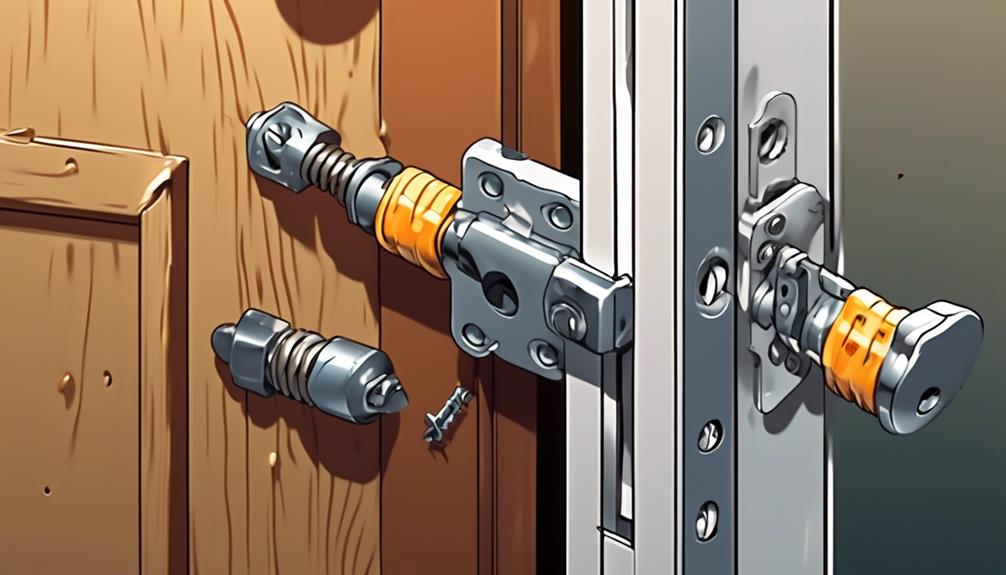
If you find yourself dealing with a door that's out of plumb, there's a simple fix to restore balance and functionality to your living space.
Start by checking the hinges and screws to ensure they are secure and properly aligned.
If the door is still not plumb, you can use shims to adjust its position and bring it back into alignment.
By following these steps, you can easily fix a door that's out of plumb and enjoy smooth, hassle-free access throughout your home.
Assessing the Plumbness of the Door

To assess if your door is plumb, use a level to check if it's perfectly vertical. Place the level against the side of the door, ensuring it touches both the top and bottom edges.
Check the bubble in the level. If the bubble is centered between the two lines, the door is plumb. If the bubble is off-center, the door is out of plumb.
If the door isn't plumb, identify the direction it's leaning. Note which side of the bubble is closer to a line on the level. If the bubble is closer to the right line, the door is leaning towards the right. If the bubble is closer to the left line, the door is leaning towards the left.
Gathering the Necessary Tools
Gathering the Necessary Tools
To gather the necessary tools, make sure you have the following items on hand:
- Screwdriver: You'll need this to remove the screws holding the hinges in place.
- Level: This tool will help you determine if the door is plumb or not.
- Digital Level: Consider using a digital level for precise measurements.
- Bubble Level: A traditional bubble level will also do the job.
- Shims: These thin wedges will help you adjust the door's position by filling gaps between the frame and the door.
- Wooden Shims: Use wooden shims for a sturdy and long-lasting fix.
- Plastic Shims: Plastic shims are a good alternative if you prefer a more flexible material.
- Hammer: You might need a hammer to tap the shims into place.
- Pliers: Pliers will come in handy if you need to remove any stubborn nails or staples.
Having these tools readily available will make the door fixing process much smoother. Remember to take your time and work carefully to ensure the door is properly aligned and plumb.
Adjusting the Hinges to Correct the Alignment

Next, you need to adjust the hinges to correct the alignment of the door. This is important to make sure the door hangs straight and works properly.
First, check if the hinges are loose or misaligned. Use a screwdriver to tighten loose screws, and if the hinges are misaligned, reposition the hinge plates.
After adjusting the hinges, test the alignment of the door by opening and closing it. If the door is still not straight, you can use thin cardboard shims or a hinge shim to bring the door closer to its desired position.
Keep testing the door's alignment until it hangs straight and swings smoothly. Remember to make small adjustments and check the results often to avoid overcorrecting.
Fine-Tuning and Testing the Door
Now, let's fine-tune and test the door to ensure it's properly aligned and functioning correctly. Here are some important steps to follow:
- Adjust the strike plate: If the door doesn't latch properly, you may need to move or adjust the strike plate. Loosen the screws holding it in place and slide it slightly until the latch aligns with the hole. Then, tighten the screws back up.
- Check the weatherstripping: Inspect the weatherstripping around the door to ensure it creates a tight seal. If there are any gaps or damage, replace it with new weatherstripping to prevent drafts and improve energy efficiency.
- Test the swing: Open and close the door multiple times to ensure it swings freely without sticking or rubbing against the frame. If you notice any issues, you may need to adjust the hinges or trim the door slightly.
- Evaluate the alignment: Stand back and assess the door's alignment with the frame. Look for any gaps or inconsistencies. If necessary, make small adjustments to the hinges or shims to achieve optimal alignment.
