Repairing a water-damaged floor joist is possible with the right approach and techniques. It requires careful assessment and precise execution to ensure the structural integrity of the floor. By following a few steps, you can salvage the damaged joist and maintain the safety and stability of your home.
Identify the extent of the damage by inspecting the affected area thoroughly. Remove any wet or rotted wood from the joist and surrounding areas.
Reinforce the damaged joist by attaching sister joists or using metal brackets for added support.
Allow the repaired area to dry completely before replacing any flooring or finishes.
With these steps, you can effectively repair a water-damaged floor joist and restore the strength and stability of your floor.
Key Takeaways
- Thoroughly inspect the entire length of the joist for signs of damage such as warping, discoloration, or softness.
- Look for indicators of prolonged moisture exposure such as mold or mildew growth.
- Make precise cuts to remove the damaged section of the joist, disposing of it properly.
- Assess the remaining joist for repair or replacement, considering materials that align with load-bearing requirements and environmental conditions.

Assessing the Extent of Damage
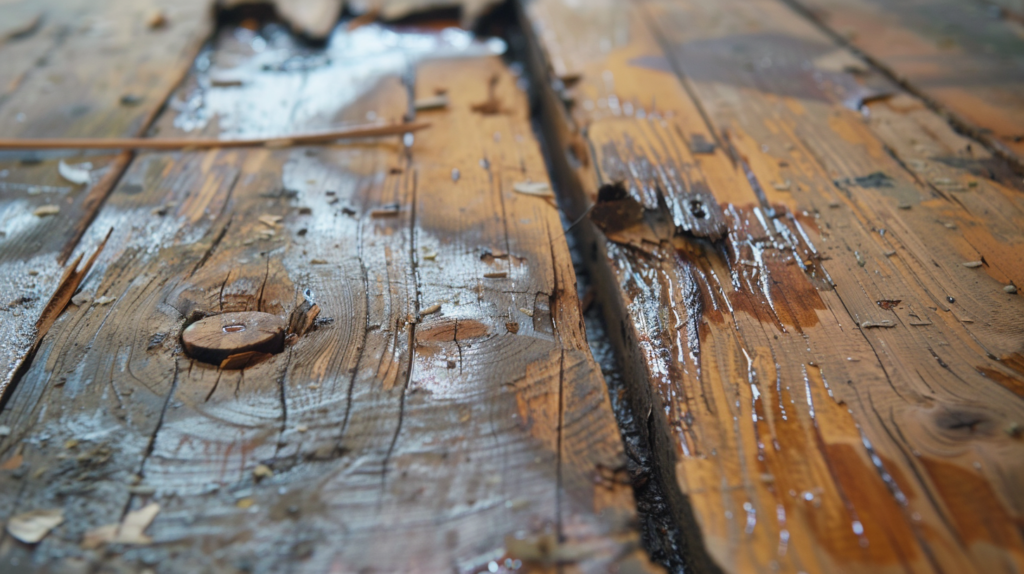
To accurately assess the extent of water damage to a floor joist, begin by thoroughly inspecting the entire length of the joist for any signs of deterioration, such as warping, discoloration, or softness. Warping can manifest as a deviation from the straightness of the joist, while discoloration may indicate prolonged exposure to moisture. Softness is a key indicator of water damage, as it suggests that the wood fibers have been compromised.
Look for mold or mildew growth, as these can indicate prolonged exposure to moisture. Utilize a flashlight to inspect hard-to-see areas and a moisture meter to detect any hidden moisture levels. It’s crucial to check the surrounding areas for any plumbing leaks or water sources that may have caused the damage.
Assess the structural integrity of the joist by looking for any signs of sagging or unevenness in the floor above. These water damage assessment techniques will provide a comprehensive understanding of the extent of the damage, enabling you to determine the necessary repairs for restoring the floor joist to its original strength and stability.
Removing the Damaged Section
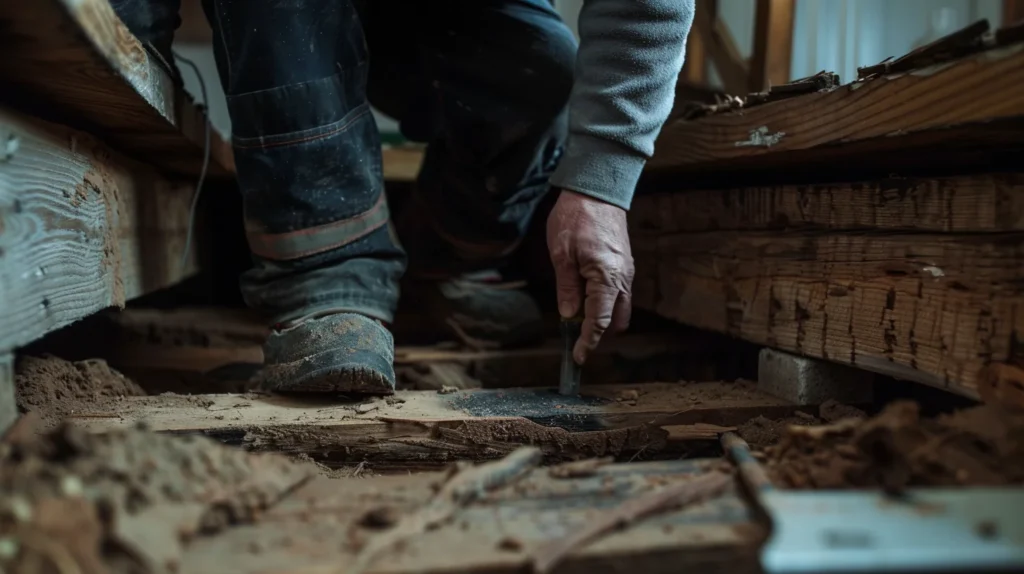
You can begin the process of removing the damaged section by carefully measuring and marking the extent of the affected area on the floor joist. Ensure that you assess the structural integrity of the joist and identify any additional sections that may need to be removed to prevent further damage.
Once you have determined the boundaries of the damaged section, use a saw to make precise cuts along the marked lines. Be cautious not to cut into any adjacent healthy wood to maintain the structural stability of the floor joist.
After removing the damaged section, it’s crucial to dispose of it properly to avoid any potential hazards. Follow the proper disposal techniques in your area, which may include contacting local waste management services or following specific guidelines for handling construction debris. By managing the removal and disposal of the damaged section carefully, you can ensure a safer and more effective repair process.
| Assessing Structural Integrity | Proper Disposal Techniques |
|---|---|
| Carefully inspect the floor joist | Contact local waste management |
| Identify any additional damage | Follow specific disposal guidelines |
| Ensure stability of the structure | Dispose of debris safely |
How To Repair Floor Joists With Water Damage?
After removing the damaged section, carefully examine the remaining floor joist to determine if repair or replacement is necessary. Assess the structural integrity of the floor joist by checking for signs of rot, warping, or weakening. If the damage is localized and the majority of the floor joist is still structurally sound, repair may be feasible. Reinforce the weakened section by sistering a new joist alongside the damaged one, ensuring proper alignment and fastening with structural screws or nails.
However, if the damage is extensive and compromises the overall integrity of the floor joist, replacement is essential to maintain the stability of the structure.
When considering replacement, explore material options such as traditional dimensional lumber or engineered wood products like laminated veneer lumber (LVL) or parallel strand lumber (PSL). These alternatives offer greater strength and resistance to moisture, making them suitable for repairing water-damaged floor joists. Select a material that aligns with the load-bearing requirements and environmental conditions of the specific location to ensure a durable and long-lasting solution.
What to do if your floor caving in?
What About Cracked Floor Joists?
To repair a cracked floor joist, there are several methods that can be employed based on the severity of the damage. One common approach is to apply new lumber to one or both sides of the damaged lumber.This can help reinforce the joist and restore its structural integrity.
Using carpenter’s glue and metal joist hangers can also be effective in repairing cracked floor joists.It is important to assess the extent of the damage before deciding on the appropriate repair method. If the crack is not too severe and the wood is dry, simple solutions like applying glue and using screws to pull the joist together may suffice.
For more serious cases, sistering the damaged joist with a new piece of wood spanning its length can be a more robust repair technique.
The chosen repair method should aim to strengthen the cracked floor joist and ensure the stability of the structure it supports. Regular maintenance and timely repairs are crucial in preserving the integrity of a building’s framework.
Reinforcing the Repaired Area
Consider reinforcing the repaired area by applying structural adhesive along the junction of the sistered joist and the existing floor joist, ensuring a secure and stable connection. This step is crucial for enhancing the structural integrity of the repaired floor joist and preventing future issues.
When reinforcing the repaired area, follow these key steps:
- Apply Structural Adhesive: Use a high-quality structural adhesive to bond the sistered joist to the existing floor joist. This will provide additional support and rigidity to the repaired section.
- Install Metal Brackets: Secure metal brackets at key connection points between the sistered and existing floor joists. These brackets will further reinforce the repaired area and distribute the load more evenly.
- Utilize Wood Screws: Use wood screws to fasten the sistered joist to the existing floor joist. This will ensure a strong and durable connection, adding to the structural integrity of the repaired section.
- Add Blocking: Install blocking between the repaired joist and adjacent joists to provide lateral support and prevent any potential twisting or shifting of the repaired area.
- Inspect for Evenness: After reinforcement, carefully inspect the repaired area to ensure that it’s level and even, providing a solid foundation for the floor above.
Preventing Future Water Damage

To prevent future water damage, ensuring the structural integrity of the repaired floor joist is crucial. Applying protective sealants to vulnerable areas can help mitigate potential issues.
Waterproofing techniques play a vital role in safeguarding the repaired floor joist from future water damage. Use waterproof sealants or membranes on the repaired area to provide an additional layer of protection against moisture intrusion. These sealants create a barrier that prevents water from seeping into the wood, thus reducing the risk of future damage.
In addition to waterproofing, consider implementing effective drainage solutions to redirect water away from the floor joists. Properly functioning gutters and downspouts can help channel rainwater away from the foundation of the house, reducing the likelihood of water seepage into the floor joists. Moreover, grading the soil around the foundation can also aid in preventing water from pooling around the structure.
FAQ About Water Damaged Floor Joists
Can I Repair a Floor Joist Damaged by Water Myself, or Do I Need to Hire a Professional?
You can definitely repair a floor joist damaged by water yourself, but it’s essential to consider the extent of the damage and your DIY skills. Professional assistance may be necessary for complex repairs, offering preventative measures and cost considerations.
What Are the Potential Long-Term Effects of a Water-Damaged Floor Joist if Left Unrepaired?
If left unrepaired, potential risks of water-damaged floor joists include compromised structural integrity, mold growth, and further deterioration. Addressing the damage promptly is crucial to prevent long-term complications and ensure a safe, stable structure.
Are There Any Specific Tools or Materials That Are Commonly Overlooked When Repairing a Water-Damaged Floor Joist?
When repairing a water-damaged floor joist, it’s commonly overlooked to have specific tools and materials for the job. Ensure you have the right tools and materials for repairing the floor joist effectively.
How Can I Determine if the Water Damage Has Also Affected Other Structural Components of the Floor or Surrounding Areas?
To determine if water damage has affected other structural components, conduct a thorough structural inspection. Look for signs like sagging floors or cracked walls. Prevention methods include addressing leaks promptly and ensuring proper ventilation to prevent future damage.
Are There Any Specific Building Codes or Regulations I Need to Be Aware of When Repairing a Water-Damaged Floor Joist?
When repairing a water-damaged floor joist, it’s crucial to ensure building code compliance for structural integrity. DIY feasibility depends on repair cost and your expertise. Prioritize safety and consider consulting a professional for complex repairs.
