Navigating floor joist repair can be complex, but understanding the key steps is crucial.
By following essential strategies with precision, you can effectively tackle repairs and secure your building’s integrity.
Key Takeaways
- Promptly assess and address sagging, rot, and termite damage for structural stability.
- Utilize proper tools, safety gear, and materials like lumber or steel for effective repairs.
- Install temporary supports, remove damaged sections, and reinforce with steel columns or wood posts.
- Choose materials based on repair needs and use shims, blocking, and bracing for added reinforcement.
Floor Joist Issues
Common problems with floor joists include:
- Sagging from too much weight
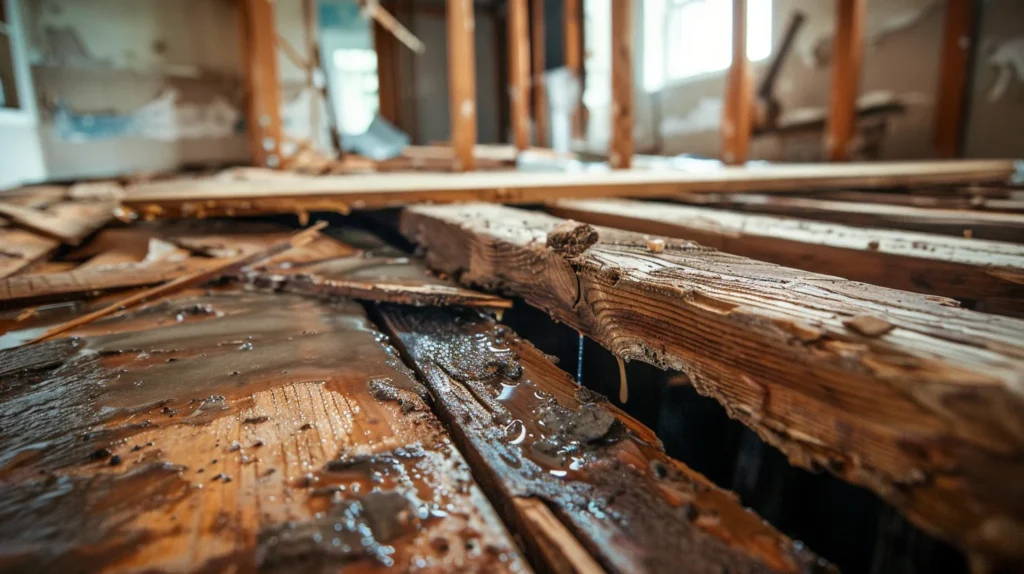
- Rot from water damage
- Termites weakening the structure
Sagging makes the floor curve downward, rot weakens the wood, and termites hollow out the joists. These issues can make floors uneven, creaky, or even collapse.
Fixing them quickly is essential for the building’s stability.
Initial Assessment
Assess your floor joists for damage:
- Look for water damage: Check for discoloration, warping, or mold.
- Inspect structural support: Ensure joists aren’t sagging or bending.
- Check for termite or pest damage: Look for holes, tunnels, or sawdust.
- Measure for rot: Probe with a screwdriver for soft spots.
Tools and Safety Precautions
Essential tools for floor joist repair:
- Tape measure
- Circular saw
- Hammer
- Nails
- Screws
- Joist hangers
- Level
- Safety goggles
- Work gloves
- Ladder
Safety precautions:
- Clear the work area
- Wear protective gear like safety goggles and work gloves
- Work with a partner for safety
Create a checklist to ensure you have all necessary tools and safety equipment for the repair process:
Step-by-Step Repair Process

When approaching the repair process for floor joists, you’ll begin with a thorough inspection and diagnosis to pinpoint the areas requiring attention.
Next, you’ll focus on installing temporary supports to ensure the stability of the structure during repairs.
Step 1: Inspection and Diagnosis
Inspect floor joists by looking for visible damage like cracks, sagging, or moisture stains.
Verify proper alignment and spacing, probe for weak spots, and check support connections for security.
Step 2: Temporary Support Installation
Install temporary supports first in floor joist repairs to maintain structural stability. Use adjustable steel columns or solid wood posts that can be easily adjusted.
Place the supports under the damaged area securely to hold up the floor and ensure safety during repairs.
Step 3: Removal of Damaged Sections
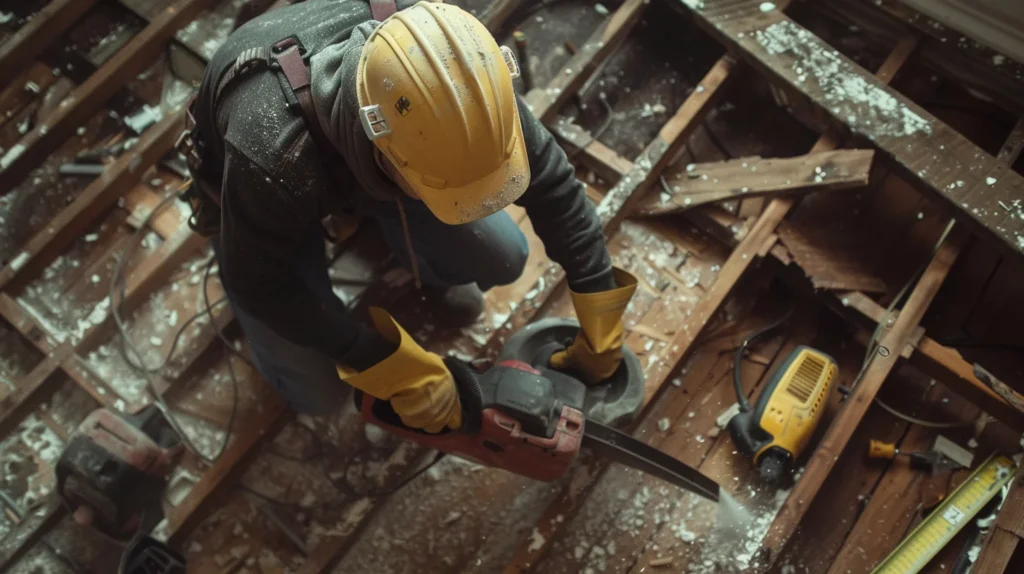
To safely start fixing the floor joists, carefully remove the damaged sections using precise methods to avoid causing more harm. Follow these steps:
- Check the Damage: See how bad it is to decide how to remove it.
- Use the Right Tools: Cut with saws or chisels carefully to avoid damage.
- Support Nearby Joists: Secure them to keep them in place.
- Dispose of Debris Carefully: Remove the damaged parts without dropping debris into the subfloor or foundation.
Materials for Repair
Materials like specific types of lumber, fasteners, and extra support are crucial for floor joist repair.
Key choices include 2x8s, 2x10s, laminated veneer lumber (LVL), or steel joists for extra strength. Nails, screws, and joist hangers are vital for securing joists.
Support items like shims, blocking, and bracing may be needed for reinforcement. Selecting the right materials based on repair needs is essential for a successful job.
Repair Techniques
When approaching floor joist repair, consider employing the technique of sistering damaged joists for reinforcement.
Additionally, reinforcing weakened joists with steel plates can enhance the structural integrity of the floor system.
These techniques aim to address specific issues and ensure the stability and longevity of the repaired floor joists.

Technique 1: Sistering Floor Joists
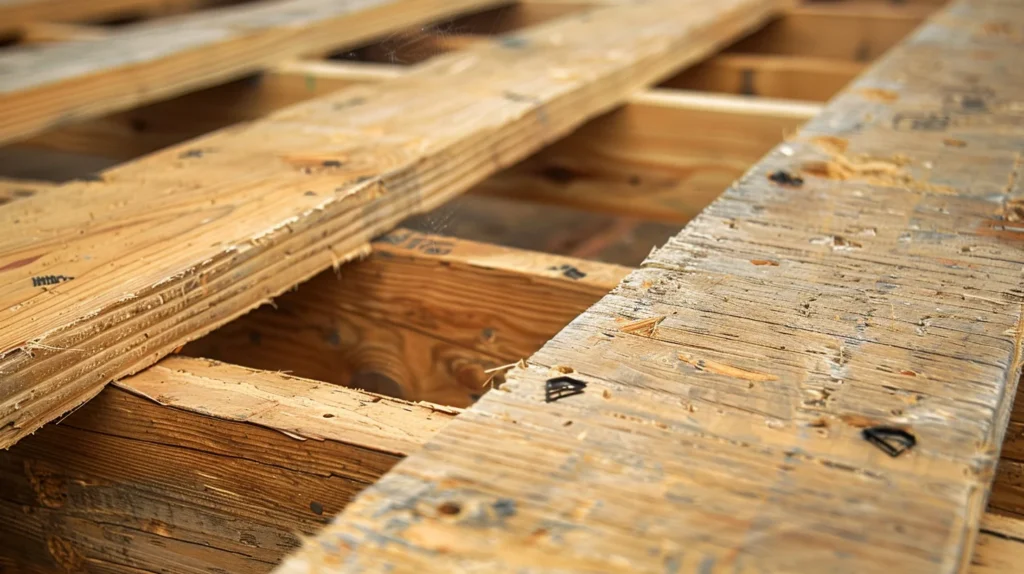
Sistering floor joists strengthens weak joists by adding support and redistributing weight. When sistering floor joists:
- Align Joists: Ensure the new joist is flush and parallel to the existing one.
- Secure Attachment: Use nails or screws for a strong connection.
- Choose Right Lumber: Opt for lumber that matches existing joists.
- Apply Adhesive: Use construction adhesive for added strength.
Technique 2: Reinforcement with Steel Plates
To strengthen floor joists effectively, use steel plates for added support and durability. Steel plates boost structural strength and load capacity, preventing further damage or sagging. They’re a cost-effective solution to extend the life of your floor system.
Advantages of Steel Plates:
Increased strength, better load support, and damage prevention.
Considerations:
Proper installation, maintenance, and professional advice may be necessary.
Preventive Measures
- Inspect for Moisture: Check for water damage or too much moisture that can weaken the floor joists.
- Check for Pest Infestations: Regularly look for termites or pests that can harm the wood.
- Monitor for Signs of Rot: Keep an eye out for any signs of rot, as it can weaken the floor joists.
- Maintain Proper Ventilation: Ensure good airflow in the crawl space to prevent moisture buildup and protect the joists.
Frequently Asked Questions
How Do You Repair Floor Joists?
To repair floor joists, you must identify the issue, like termite damage or rot, and fix it first. Reinforce existing joists, sister new ones, or replace support posts for stability. Proper diagnosis, planning, and execution are crucial for success.
What Are the 3 Methods of Strengthening the Floor Joists?
To strengthen floor joists, you can reinforce existing ones, sister new joists, or replace support posts. These methods ensure even weight distribution and structural stability. Proper planning and execution are essential for restoring the floor system’s integrity.
What Are the Rules for Sistering Joists?
When sistering joists, ensure new joists match existing ones in dimension. Securely attach with nails or screws for reinforcement. This method addresses sagging floors, structural weakness, or damage in floor joists. Proper execution prevents future issues.
How Do You Fix Joists Together?
To fix joists together, ensure a secure connection by using screws, nails, or construction adhesive. Sister new joists alongside existing ones for reinforcement. Distribute weight evenly and enhance stability. Strong and seamless connection is crucial.
