Drywall Hole Repair: Techniques for Different Sizes
Small Holes (< 1 inch):
Use spackling compound, applying thin layers and feathering out towards the edges.
Medium Holes (1-4 inches):
Use mesh patches and joint compound, pressing the patch firmly onto the hole.
Larger Holes (> 4 inches):
Replace the drywall panel, securing it with screws.
Deep Holes:
Use backing material and joint compound for support.
Finish with joint compound, sanding, and painting to match the surrounding area.
Key Takeaways
• Use spackling compound for small holes (< 1 inch) and apply in thin layers, allowing each to dry before sanding.
• Apply mesh patches for medium-sized holes (1-4 inches) and press firmly onto the hole, smoothing out air pockets.
• For large holes (> 4 inches), replace the entire drywall panel, securing it with screws and applying joint compound to seams.
• For deep holes, cut plywood to fit behind the hole as backing material, applying a thin layer of joint compound and securing with screws.
• Finish with a thin layer of joint compound, matching the surrounding drywall texture, and prime with a drywall-specific primer before painting.
Small Holes and Filling Compounds

Filling Small Holes
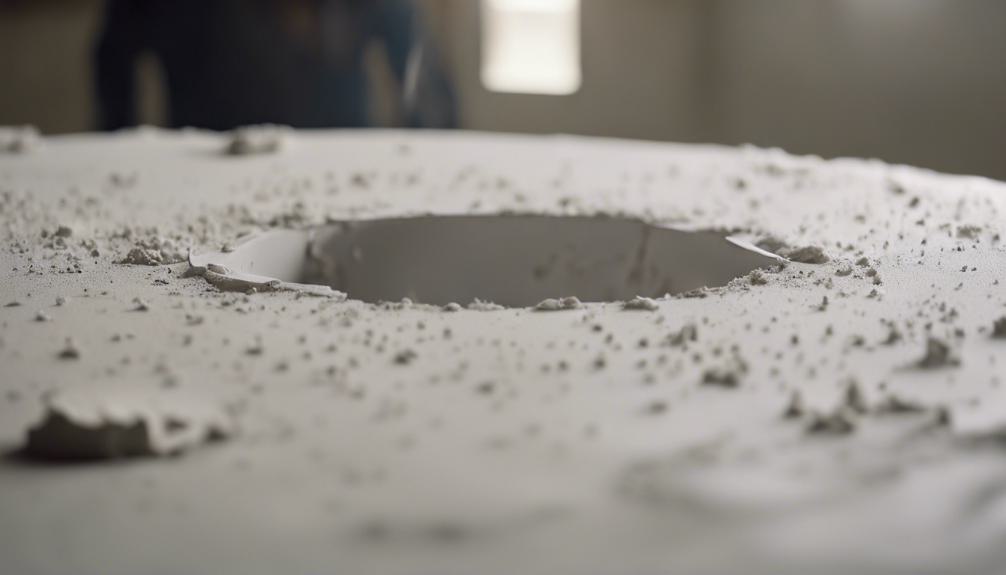
For holes less than 1 inch in diameter, use a filling compound (spackling compound) to fill the hole and create a smooth surface. This type of compound dries quickly and can be sanded to a smooth finish.
Choosing the Right Filling Compound
Select a compound based on the hole type. For small, shallow holes, use a lightweight compound. For deeper holes or those with jagged edges, use a heavier, more durable compound.
Applying the Filling Compound
Apply the compound in thin layers, allowing each layer to dry before applying the next. This prevents the compound from shrinking as it dries, ensuring a smooth finish. Use a putty knife to spread the compound evenly and feather it out towards the edges to create a seamless blend with the surrounding drywall.
Medium Holes and Mesh Patches
For holes between 1 and 4 inches in diameter, use mesh patches for a sturdy repair. Choose a patch that matches the drywall's thickness and is slightly larger than the hole.
Apply a thin layer of joint compound to the back of the mesh patch and press it firmly onto the hole, centering it and smoothing out air pockets or wrinkles.
Use a putty knife to spread a thin layer of compound around the patch's edges, feathering it outwards towards the surrounding drywall.
Allow the compound to dry completely before sanding the area smooth.
With the right mesh selection and proper patch adhesion, you'll achieve a professional-looking repair that will last.
Large Holes and Drywall Replacement

Replacing Large Holes and Damaged Drywall Panels
When to Replace a Drywall Panel
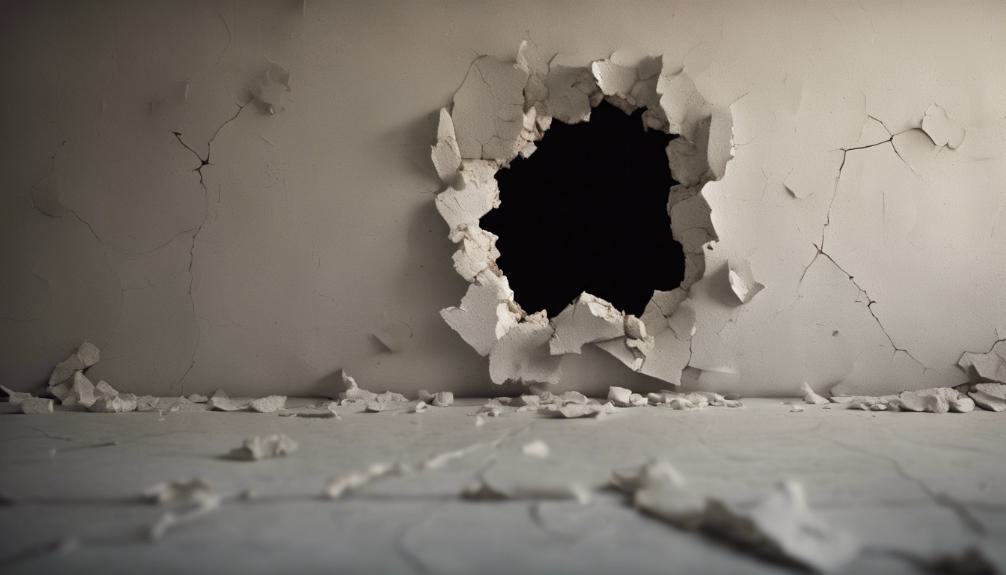
Replace the entire drywall panel if the hole is larger than 4 inches in diameter or has compromised the panel's structural integrity.
Preparing the Area
Turn off power to electrical outlets and switches nearby. Cover the floor and surrounding areas with drop cloths.
Removing the Damaged Panel
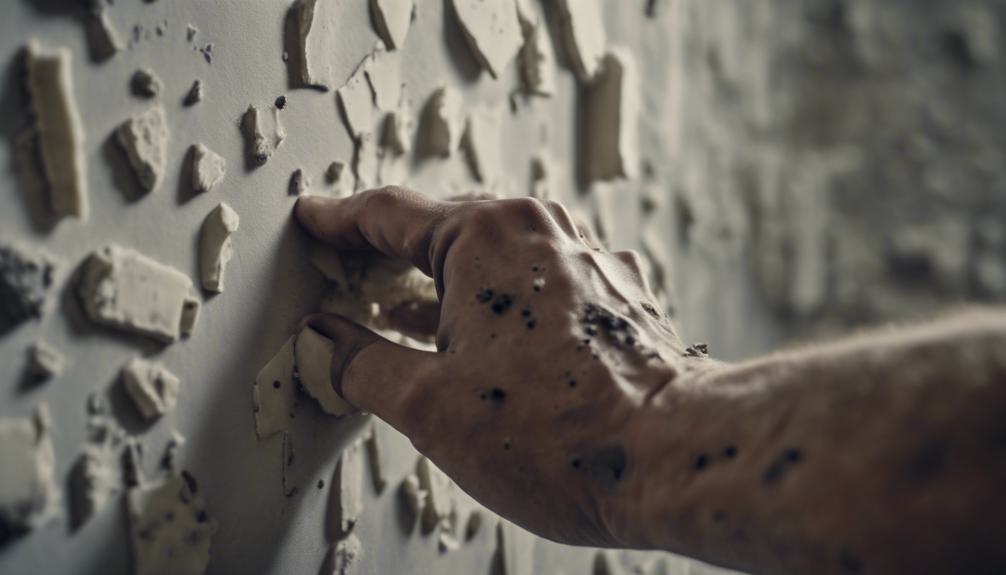
Use a utility knife to carefully cut around the perimeter of the damaged panel, avoiding damage to adjacent panels. Remove the damaged panel and inspect the surrounding area for damage to drywall reinforcement (studs or joists). Perform repairs to the reinforcement if necessary.
Installing the New Panel
Clean and dry the surrounding drywall. Apply joint compound to the back of the new panel and press it firmly into place. Secure the panel with drywall screws, spaced evenly apart.
Finishing the Repair
Apply additional coats of joint compound to the seams, feathering them out smoothly to blend with the surrounding drywall.
Deep Holes and Support Structures
Deep holes in drywall require additional support structures for a sturdy repair. Cut a piece of plywood or oriented strand board (OSB) to fit behind the hole, leaving 1 inch of extra material around the edges. This serves as the backing material.
Apply a thin layer of joint compound to the back of the drywall and press the backing material into place, ensuring it's centered and even. Secure the backing material to the surrounding drywall using drywall screws, spaced 6 inches apart. This creates a solid foundation for the repair.
Apply additional joint compound to the edges of the backing material, feathering it out towards the surrounding drywall. Allow the compound to dry before sanding and applying subsequent layers of compound and tape.
Finishing Touches and Painting

Finishing Touches and Painting
Apply a thin layer of joint compound to the entire repair area, spreading it smoothly and evenly to create a uniform surface for finishing. This layer should be 1/16 inch thick to avoid creating a noticeable bump.
Use a putty knife or trowel to apply a texture that matches the surrounding drywall. Choose from knockdown, orange peel, or smooth finish textures. Consult a professional or take a sample to a hardware store for guidance if unsure.
Allow the compound to dry completely before sanding the area smooth.
Prime the repaired area with a drywall-specific primer.
Paint the area to match the surrounding color scheme using a paint that matches the original color and sheen as closely as possible.
Frequently Asked Questions
Can I Use a Hair Dryer to Speed up the Drying Process of Joint Compound?
When speeding up joint compound drying, you'll get the best results by maintaining a moderate room temperature, rather than using a hair dryer, which can unevenly heat the compound, affecting its temperature and overall drying time.
How Do I Prevent Dust From Spreading During the Repair Process?
To prevent dust from spreading, you'll set up a dust containment area using plastic sheets and tape, and consider using air purifiers to minimize airborne particles, ensuring a clean and efficient repair process.
Are There Any Eco-Friendly Alternatives to Traditional Joint Compound?
You'll find eco-friendly alternatives to traditional joint compound by opting for natural fillers like recycled paper or plant-based materials, paired with sustainable binders such as natural latex or plant-derived polymers.
Can I Repair a Hole in a Load-Bearing Wall Myself?
'When dealing with a load-bearing wall, you should prioritize structural integrity; if unsure, consider seeking professional assistance to guarantee a safe and proper repair, as DIY mistakes can have severe consequences.'
Will a Repaired Hole in Drywall Affect the Resale Value of My Home?
When selling your home, you're likely wondering if a repaired hole in drywall will impact its resale value. The answer lies in appraisal impact and buyer perception – a well-repaired hole may go unnoticed, but a sloppy job can raise concerns and lower your home's value.
Conclusion
You've successfully repaired the drywall holes using the techniques outlined in this guide.
For small holes, filling compounds did the trick.
Medium holes required mesh patches, while large holes needed drywall replacement.
Deep holes demanded support structures.
Now, finish with joint compound, sand, and paint to blend the repairs with the surrounding area.
Your wall should look like new again.
